
Tuesday, August 3, 2010
Barn Quilting


Sunday, July 25, 2010
finger calluses
I'm getting in maybe an hour a day on the handquilting for my sampler quilt. You may ask...is that all you have time for? and the straightforward answer is, yes, it is. There is another answer, and that it is...I do try to watch the blood on the quilt. What??? When you handquilt, one hand is on top of the quilt, pushing the needle, and one hand is underneath, guiding the needle. The needle catches 4 or so stitches at a time. You need to make sure that the needle actually goes through the whole quilt sandwich (the quilt backing, the batting, and the quilt top), otherwise, well, you kinda lose the purpose of the quilting stitch - to pull all the layers together. The idea is to have small even stitches, about 6 or 8 to an inch. I wear a thimble on the index finger on my right hand, the hand on top of the quilt pushing the needle, because there is a lot of force (relatively) used by that finger. However, on the bottom hand, I need to feel the needle coming through the material, so I don't use a thimble on that hand. I switch the fingers around, from index to middle, but it still takes time to develop a callus that allows me to feel the needle...yet not draw blood. And all my calluses that I gained from quilting the cottage ninepatch (for which I have yet to post pictures), 4 years ago, are all gone. So I am building up my endurance! I don't know how other quilters manage this, but I've tried various thimbles and other arrangements, and this just seems to work best for me...
I'm off with my callusing fingers now to bed...good night!
I'm off with my callusing fingers now to bed...good night!
Saturday, July 17, 2010
The Tulip Quilt
This quilt was made for my sister Rose, who lives in the States. I picked the pattern out say way back in 2005, and bought the material before we sold the cottage, from a great fabric store just outside of Bancroft. This woman had a fabric store in Bancroft for many years, but just couldn't manage the rent. I think she was 75 years old or so in 2005. So she moved the store out to her home, and built a large structure on her property. I have not, in all my visiting of fabric stores, seen such a selection of fabric. I think I spent 3 hours there picking out the material. I started with my preferences, and then came back to earth, reminding myself that the quilt wasn't for me - it was for my sister and her husband. hmm. just looked for the store listing on line, and maybe it's not there any more. Too bad. This lady was running this store, and in her house, she had more fabric and 2 quilt frames that I could see.
I wanted to give my sister a garden full of tulips, butterflies and sunshine with a breeze blowing through. The offwhite background actually has butterflies in the fabric. I had the quilt machine quilted by Creative Sisters in Kitchener, using a Wind pantogram. This was a fun quilt to make - it was set on the diagonal - that was the first new thing for me on this quilt. What else - I learned about keeping my bobbin casing clean. Screwed up the tension and I didn't bother to correct it. I took the quilt down in May 2009 when I went to visit my sister, and we found some seams were giving already (because of my tension problem). So when my mother went to visit, in June of that year, she fixed it - by machine sewing the seam, around the quilt, to hold it in place. My bad for not dealing with the tension. Now the lovely wind pantogram has a straight line around all 4 borders. Sigh. At least it will keep it together. That's what happens with living, usable art! and that's what I want to make...living, functional art, which is why I'm so fond of quilts.
I've got one more quilt to post up, when I take the pictures -this will be my first large (queen size) quilt - the cottage quilt. More on this one when I do that post...then I'll be all caught up!


I wanted to give my sister a garden full of tulips, butterflies and sunshine with a breeze blowing through. The offwhite background actually has butterflies in the fabric. I had the quilt machine quilted by Creative Sisters in Kitchener, using a Wind pantogram. This was a fun quilt to make - it was set on the diagonal - that was the first new thing for me on this quilt. What else - I learned about keeping my bobbin casing clean. Screwed up the tension and I didn't bother to correct it. I took the quilt down in May 2009 when I went to visit my sister, and we found some seams were giving already (because of my tension problem). So when my mother went to visit, in June of that year, she fixed it - by machine sewing the seam, around the quilt, to hold it in place. My bad for not dealing with the tension. Now the lovely wind pantogram has a straight line around all 4 borders. Sigh. At least it will keep it together. That's what happens with living, usable art! and that's what I want to make...living, functional art, which is why I'm so fond of quilts.
I've got one more quilt to post up, when I take the pictures -this will be my first large (queen size) quilt - the cottage quilt. More on this one when I do that post...then I'll be all caught up!


Emma's Cobblestone quilt...done! ( 2 weeks ago)

And now...taking a break. Getting pack to the quilt on my hand quilting frame (pictures below). What a different pace. Cleaned up the patterns I've been using, organized the training material I have. Need to get the sewing room organized next - there is material everywhere. And thinking about the next project...one more baby quilt to do for Anna; completion of this sampler; I have a block quilt kit (precut squares from material selected by the quilt store); I want to do a mariner's compass wallhanging of green and blue and yellow; and earlier this week, I had my first quilt dream - where I worked through foundation piecing together a human figure (OK, more like a gingerbread man) in greens and blues. And, like I said, this is besides organizing the room! Oh yeah, and taking the stray practice machine quilting blocks, and putting together a Toby blanket. Hmm. I have to see how many of those I have! I've done a lot of practicing over these 3 quilts!
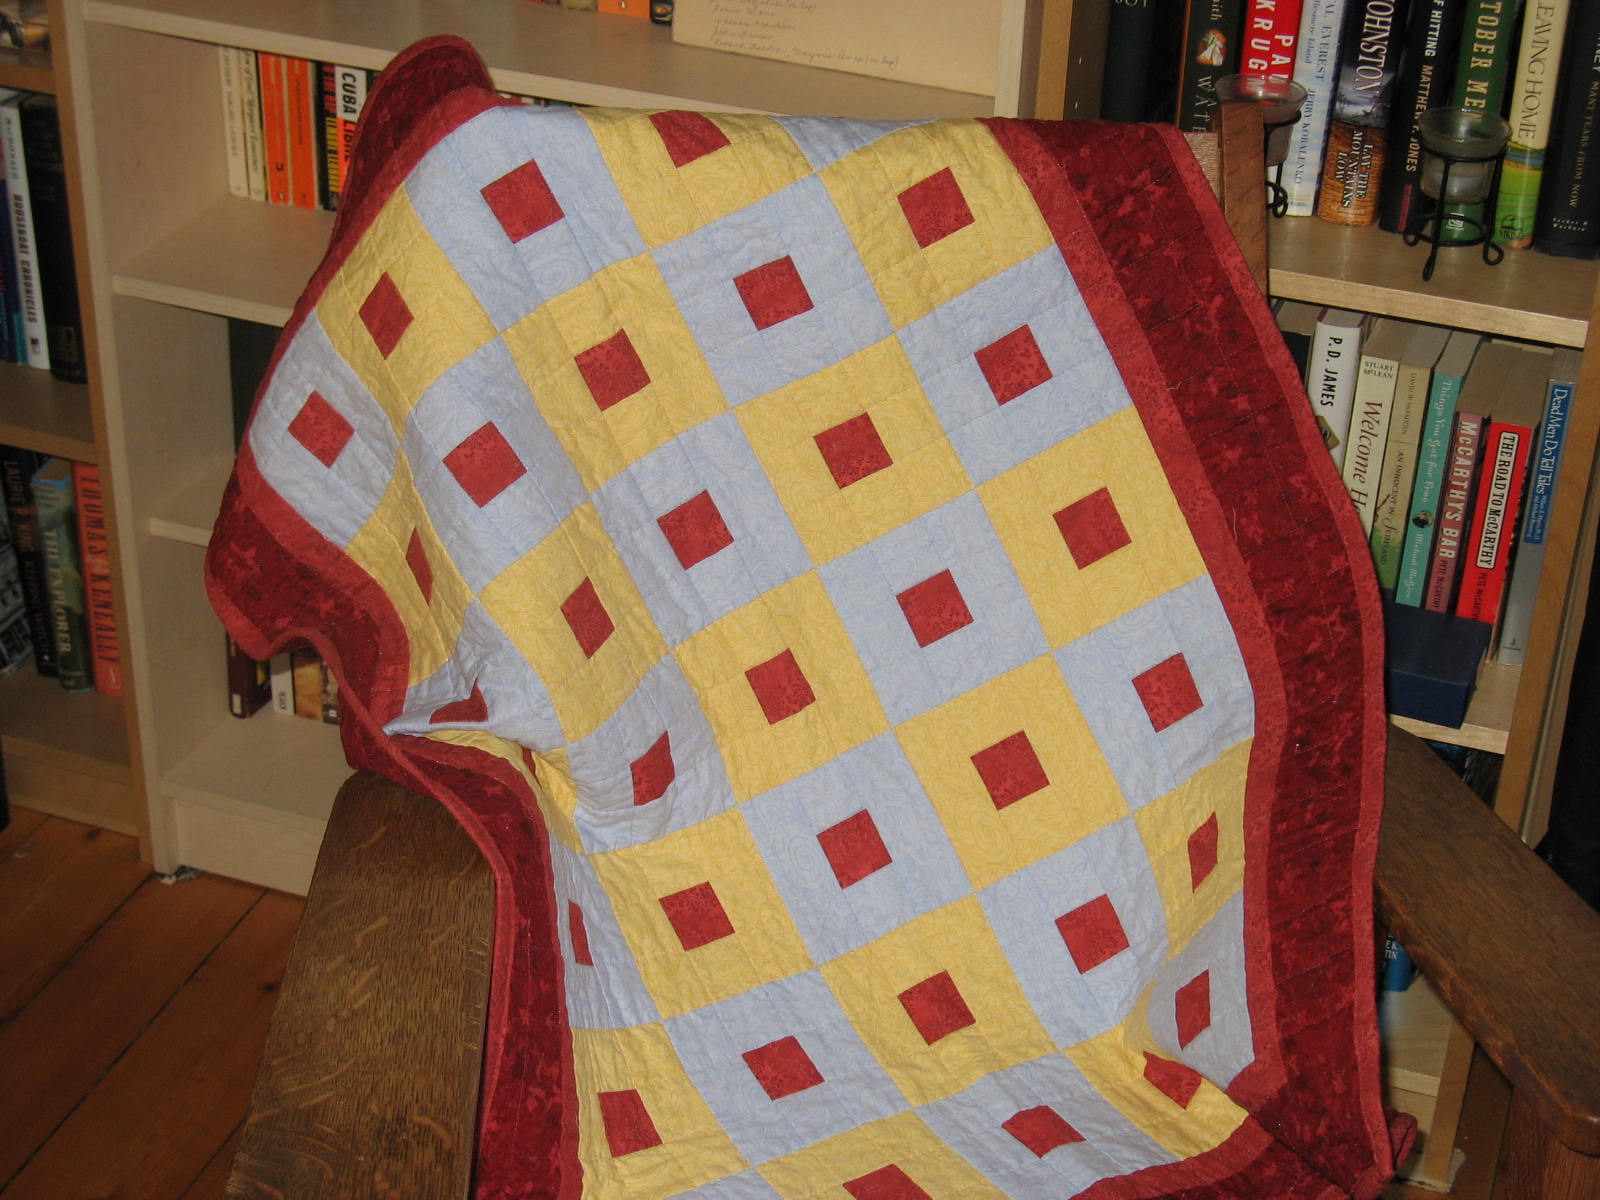

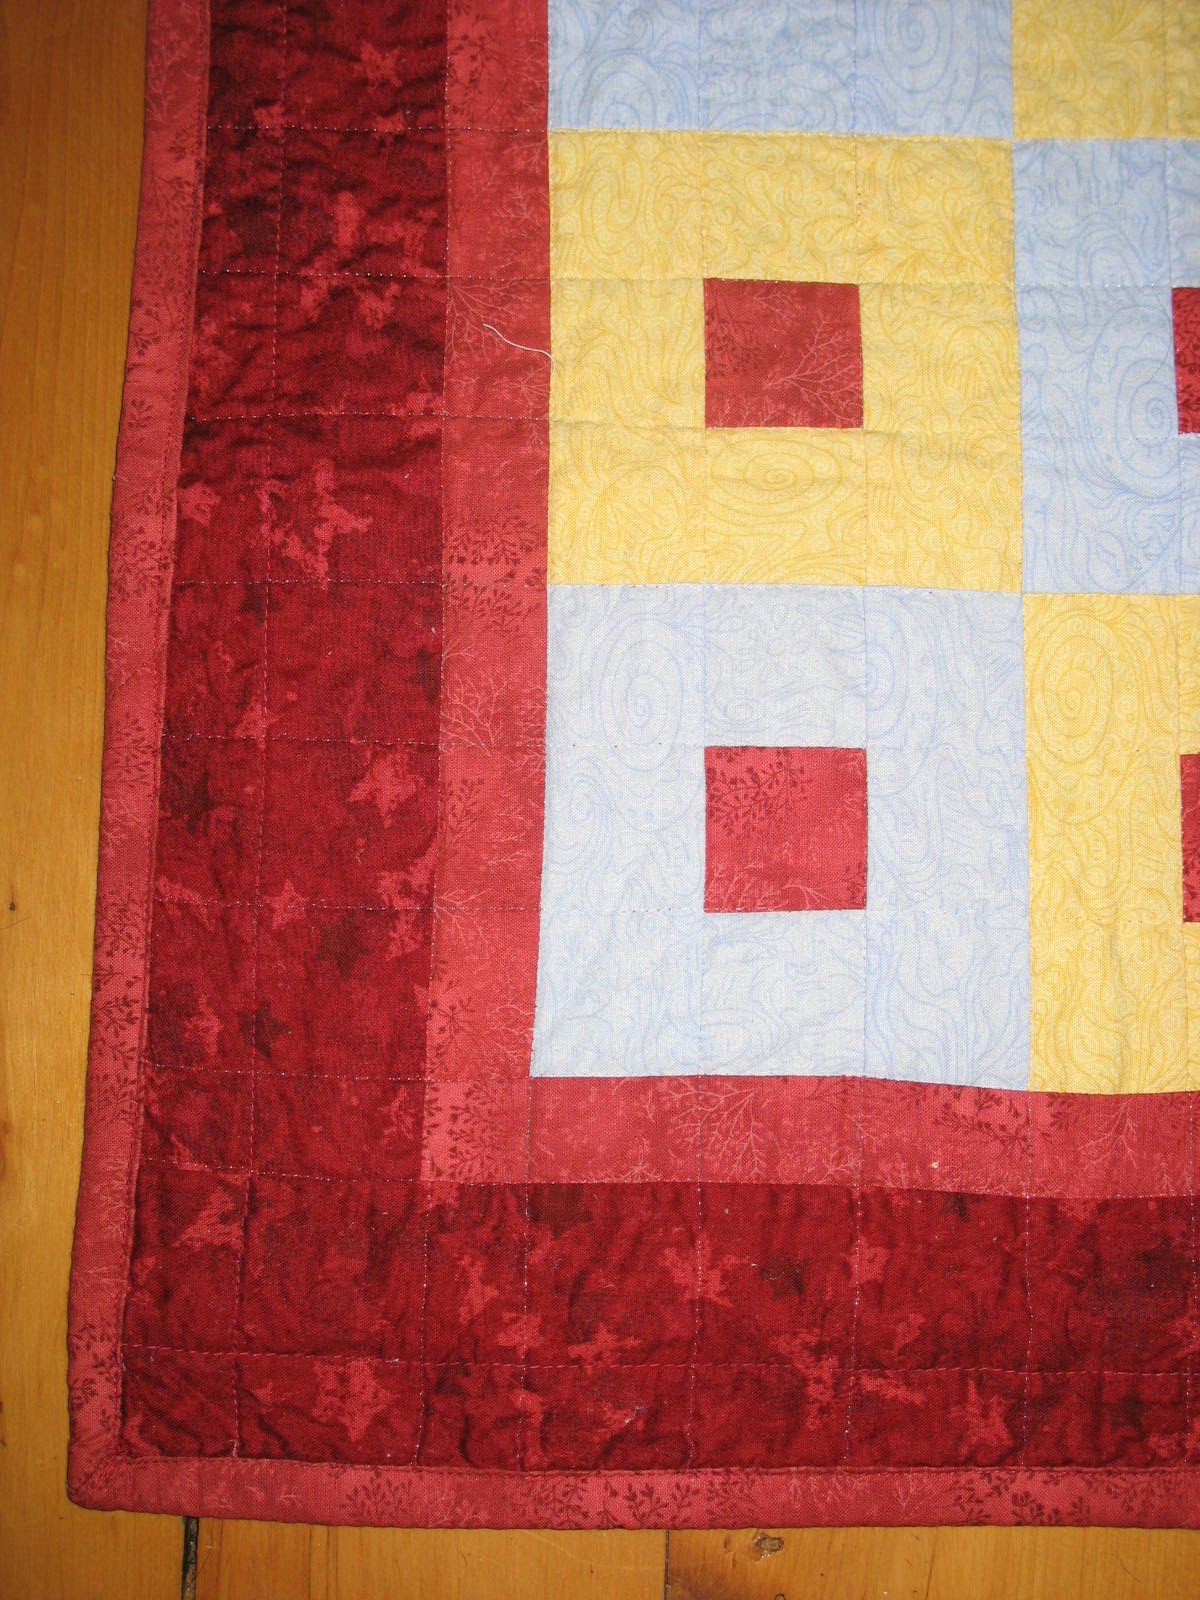
and here's a bit of the sampler on the quilting frame...


Saturday, June 26, 2010
on a roll


NOW!! zooming through Emma's quilt...decided to keep to the cobblestone theme, and do grid quilting rather than free motion. Had to work out how to handle the yellow blue and red (pix next post), without changing thread every 2 minutes, and also to not have the quilting thread over power the yellow and blue. SO solution...invisible thread on top, red on the bottom. Having some issues working out the tension so that the red thread does not pull through to the top, but I think I may have worked that out on the wall hanging portion of the project...so have just put my quilt sandwich together, machine is all suited up, have my face mask on (multi tasking of course!!), Toby and I are going to head out to get some chips...and then we are in for long haul tonight. GOAL!!! finish the quilting on Emma J's quilt tonight! and then just need to bind it...in time for Emma's potential visit this weekend! Rose, Garrett's quilt should be in the mail on Monday!!!
Saturday, June 12, 2010
border time
Just starting the border now...new favourite resource site is http://www.quiltuniversity.com/. I'm loving having the office right by my sewing room - as I run into questions, I dash into the office, search quilt university or other quilting sites, or find a video on youtube to help me out. Who knew quilting and technology would go so well together? My sewing machine is low tech - it can do straight stitches, zig zag and buttonhole (although I have some pretty fancy feet for quilting!), and my training tools are as high tech as they get. Love it.
Thursday, June 10, 2010
Garrett's quilt - quilting is done! (but not the quilt yet)
Last night, I took many deep breaths...and finished the quilting. I had to accept that it won't be the most professional job, that I'm still learning...and lo and behold, it turned out pretty good. Except for the back. Somehow I'm not getting the tension right. Not sure how to fix that up. So now have to sink the threads, and do the binding and done!!! The binding is less scary than it used to be, now that I've done a few. In fact, I may even try to nicely machine stitch this binding rather than hand stitch it, just to give it a whirl. My mitred corners on the last quilt turned out much better than I expected, so there should be just that much more improvement this time! and yes, picture pictures pictures. Coming. I want to take a course with quilt university online that teaches how to take good pictures of my quilts. And on a tangent, taking pictures with the camera and then having to load them to the computer and then post them strangely seems like a very convoluted process. What does that say about how much we rely on technology??
Subscribe to:
Posts (Atom)